If you want to improve the quality of an old photo online for free, there are easy and accessible solutions that let you bring back the sharpness and color of your memories—no experience needed. This guide will show you how to restore damaged images using modern AI tools, plus what you should prepare before getting started.
What should you have ready before starting?
Before enhancing the quality of an old photo online, make sure you have a digital version of the image. If you only have a paper copy, scan it at the highest possible resolution or take a photo with your phone in good lighting, avoiding glare and shadows. A well-digitized file makes restoration easier and delivers better results.
It’s also helpful to identify the main types of damage: Is the photo blurry, faded, scratched, stained, or torn? This way, you can choose the right adjustments and track real improvements at each step.
Step 1: Upload your old photo and assess its condition
The first step to improve old photo quality for free is uploading your image to a specialized online tool. Platforms like Naiara let you upload your photo without installing anything, and you’ll get an instant analysis of issues like blur, color loss, tears, or unwanted elements.
Step 2: Choose the right enhancement for the damage
To enhance old photo quality online, today’s AI can:
- Remove scratches and stains: Ideal for scanned prints, this removes surface marks and tears.
- Increase resolution: If your image is small or blurry, AI can generate missing details and sharpen faces or backgrounds.
- Colorize black-and-white photos: Want to see your memories in color? Automatic colorization is a stunning option.
- Erase unwanted objects or people: If something or someone shouldn’t be in the photo, you can remove them seamlessly.
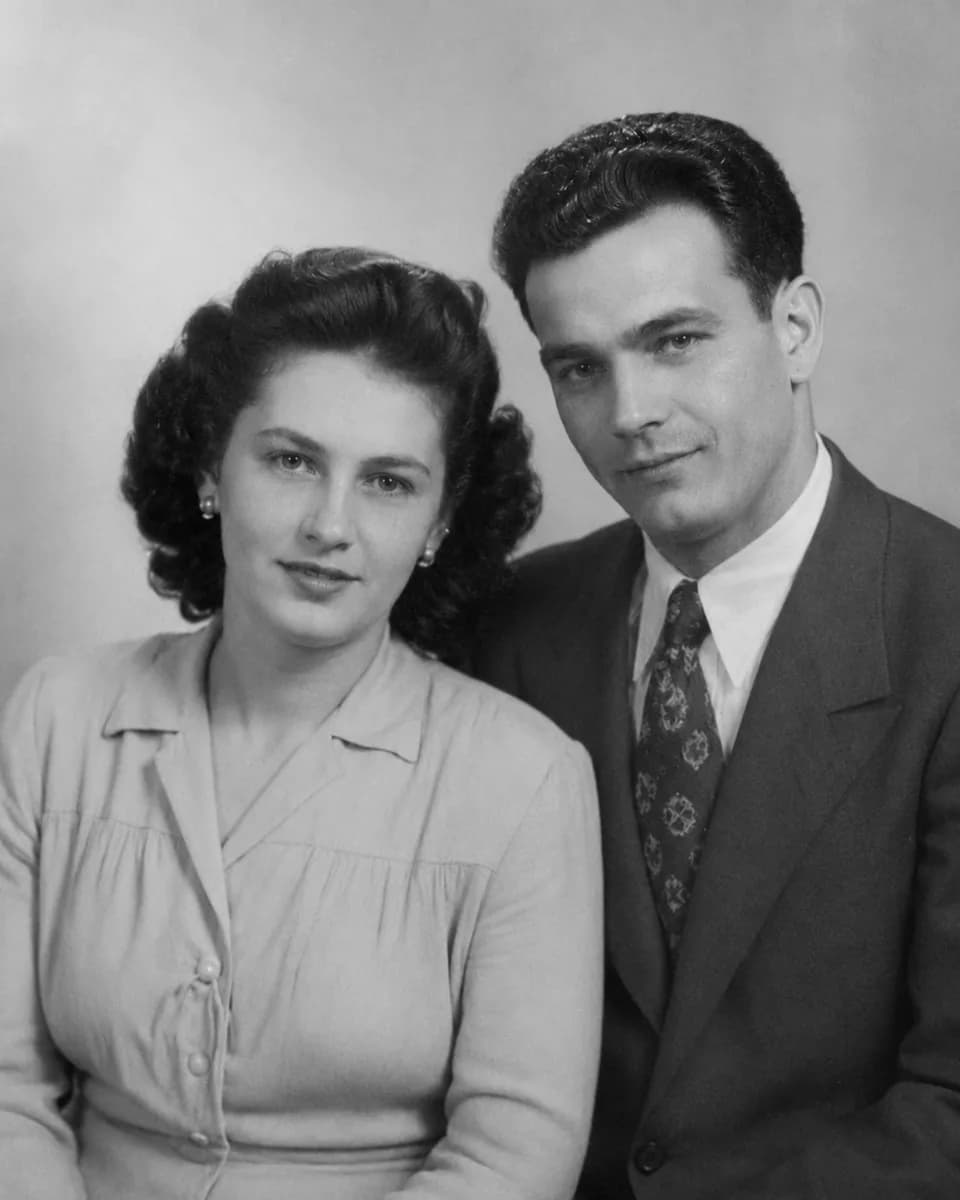
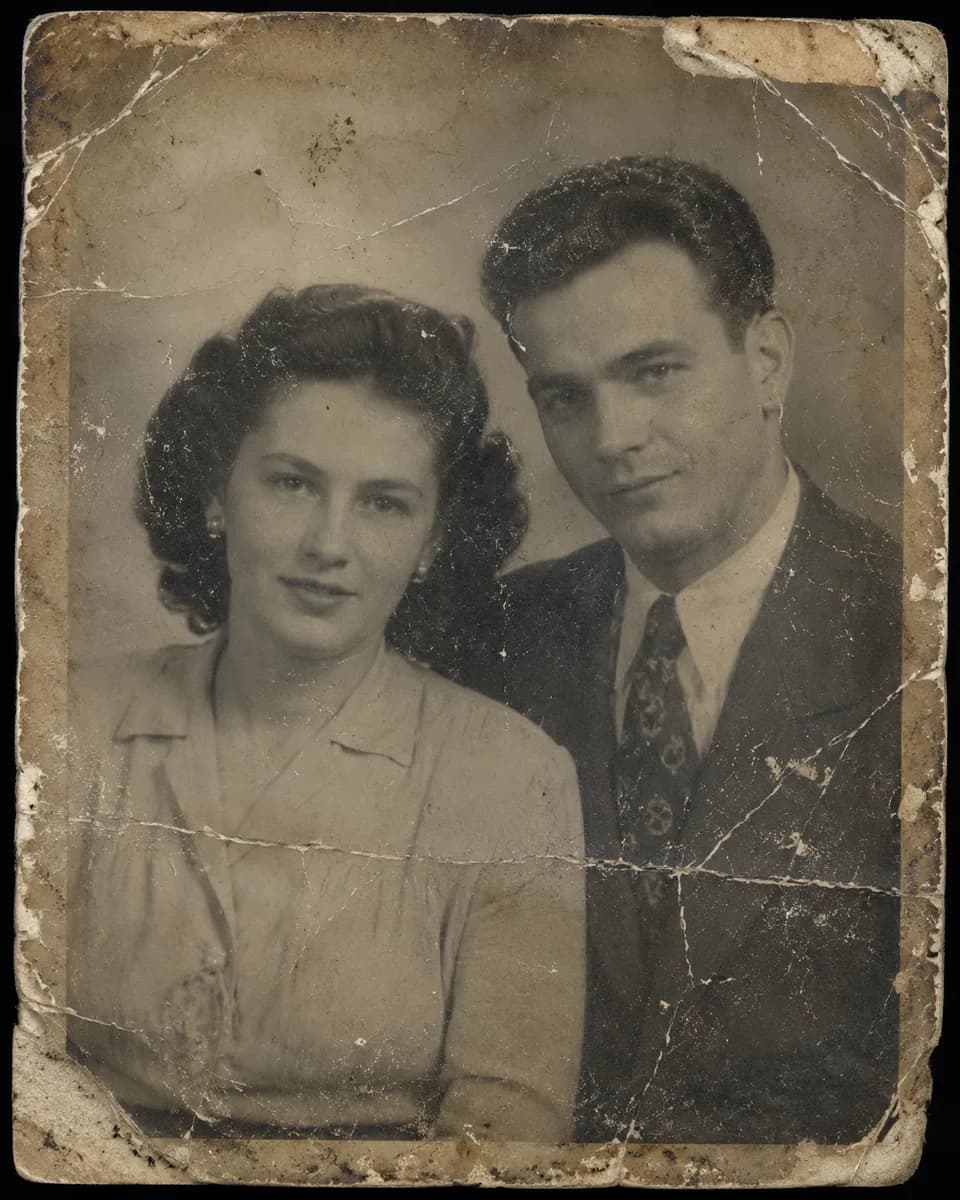
On Naiara, you can preview the before/after for each type of restoration. For example, when restoring a damaged family portrait:
This visual comparison helps you decide if you want to make further improvements or download the result as is.
Step 3: Fine-tune and review the final result
Once the restoration is applied, review the quality of the result. Use the before-and-after slider to spot any remaining flaws. You can repeat the enhancement to fix additional defects or try other features like colorization.
If you’d like to dive deeper into how AI restoration compares to traditional methods, check out Manual restoration vs AI: Which should you choose?.
How do you know if your restoration is optimal?
Pay close attention to faces and important details. A good result should:
- Restore sharpness without creating odd artifacts.
- Remove stains and scratches naturally.
- Preserve the original photographic texture.
- If you colorized, the tones should look realistic.
If you notice any artificial-looking areas, try adjusting the restoration settings or repeat the process just on that section.
Step 4: Download and keep your restored photo
When you’re happy with the improvements, download your restored image in high resolution. Naiara saves a private history where you can access and download your restorations anytime, with no time limit. This lets you keep your digital memories safe or print them whenever you like.
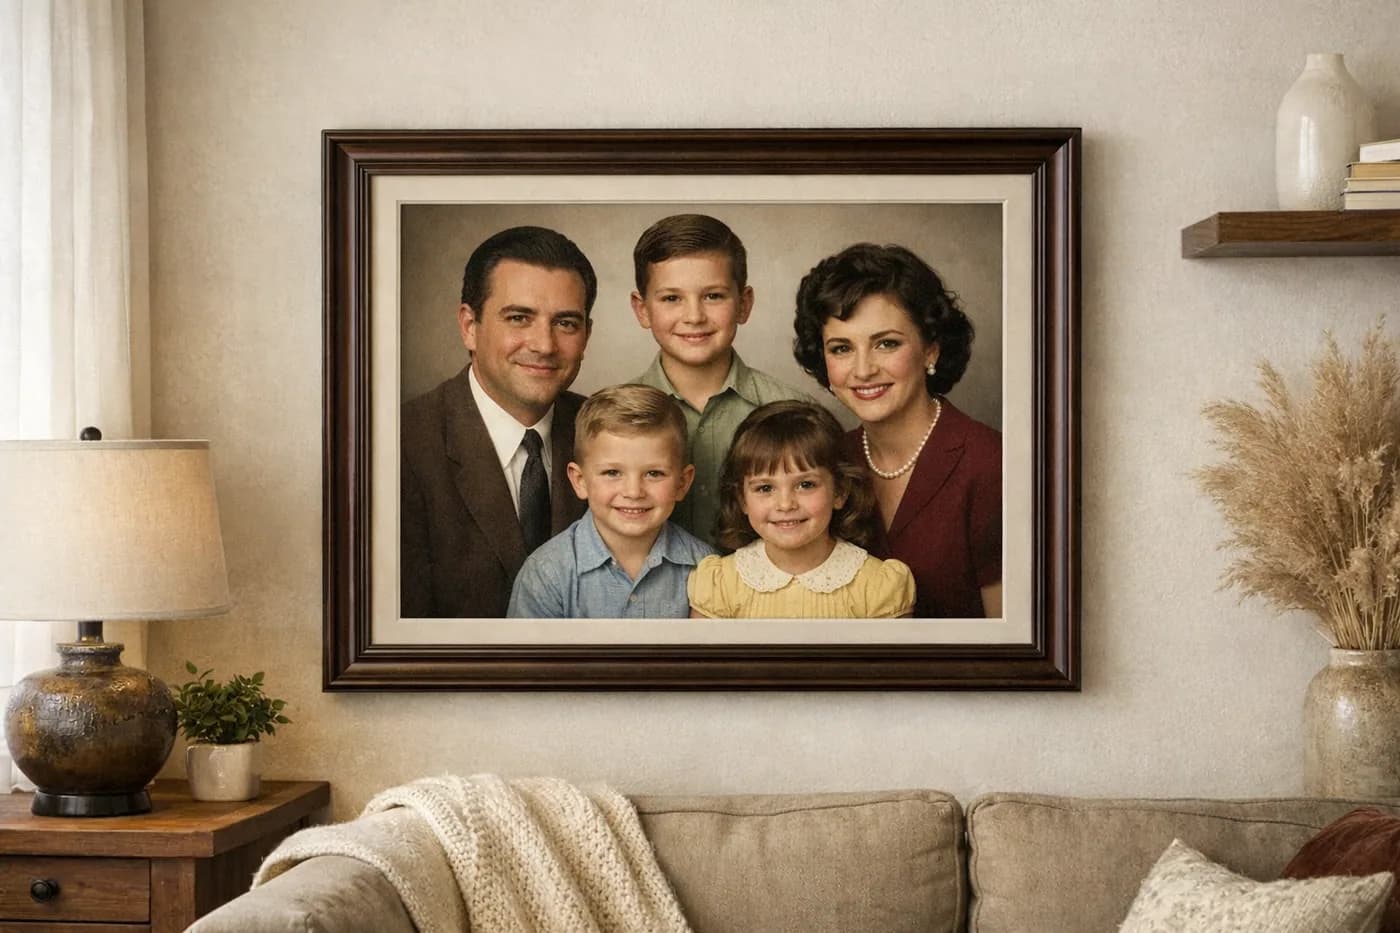
Want to turn your restoration into a physical keepsake? Learn how to get prints of your restored photos on postcards, canvas, and frames to decorate or give as gifts.
Common mistakes and how to avoid them
- Poor scan quality: A blurry scan makes it harder to recover details. Always scan at 300–600 dpi.
- Over-editing: Applying too many enhancements in a row can make the photo look unnatural. Review each change before saving.
- Ignoring original damage: If an area is badly deteriorated, it’s better to restore it in several passes or focus on the essentials (faces, background).
When is your restoration finished?
Consider your restoration complete when the photo looks natural, with no obvious signs of editing and all key elements are clear. If you plan to share or print it, check it on a large screen to spot details you might miss on your phone.
Remember, your first restoration with Naiara is free and requires no credit card. All you need is a digital image, and in minutes you’ll have your improved photo ready to download.
Frequently asked questions about improving old photo quality
How can I improve the quality of an old photo?
Digitize the photo, upload it to a specialized online tool, and apply automatic restorations like scratch removal, resolution boost, or colorization. Use the before-and-after view to ensure great results.
Is it possible to improve an old photo’s quality?
Yes, it is. Thanks to artificial intelligence, you can now restore sharpness and color, remove damage, and bring old photos back to life in minutes—even without technical know-how.
How do I fix a blurry old photo?
Use a tool like Naiara that can automatically sharpen and increase the resolution of blurry photos. Upload your image, select the sharpness enhancement, and compare the results.
How do I recover a blurry old photo?
First, scan or photograph the image in high quality. Then use an online app with AI restoration to fix blur and other flaws. Download the restored file once you’re satisfied.