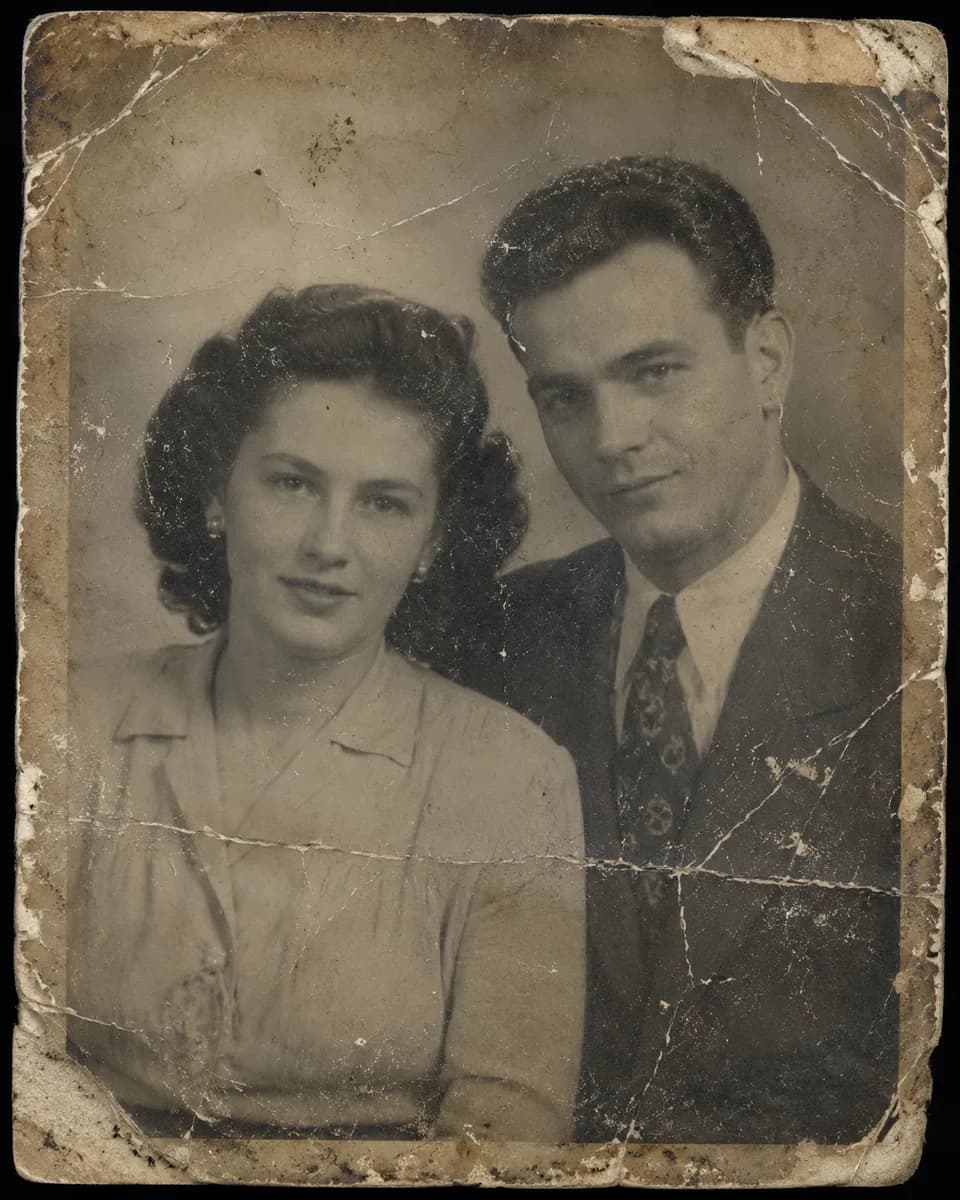
To digitize old photos is the best way to preserve family memories and stop time from fading precious images. Today, you can digitize old photos with your phone effortlessly—no scanner or tech expertise needed.
What You Need Before You Start
Get everything ready to ensure the best results when you digitize old photos with your phone:
- Your smartphone (any modern Android or iPhone will do).
- A flat, well-lit surface—ideally near a window or under a white lamp.
- Clean photos, free of dust and fingerprints (use a soft brush beforehand).
- Optional: a photo scanning app (like Google PhotoScan, or just your phone’s camera if you want speed).
Step 1: Prepare Your Photos and Workspace
Gently clean your photos with a soft cloth or anti-static brush. Place them on a matte surface and avoid glare. A table by a window on a cloudy day gives perfect, diffused light for scanning photos with your phone. If you use artificial light, make sure it’s white and even.
Step 2: Scan Photos with Your Phone (Android or iPhone)
Lay the photo flat and hold your phone directly above it, as parallel as possible. Use your camera in photo mode (or a built-in "scan documents" feature). On iPhone, you can use the Notes app’s scan function, or apps like Google PhotoScan to automatically remove glare. Take several shots and pick the sharpest, most centered one.
Step 3: Crop and Adjust the Image
After scanning, crop the image to remove borders, backgrounds, or unwanted corners. Every gallery app allows this. If you’re digitizing several photos, create a dedicated album on your phone to keep them organized.
Step 4: Enhance Quality and Restore Details
Once digitized, old photos scanned with your phone may show scratches, stains, or low resolution. This is where AI makes a difference: you can restore, enhance, and colorize your photos in minutes—no technical skills required. Simply upload your scan, pick the improvement you want, and compare the result with the original.
If your photo has serious damage—tears, stains, faded colors—check out this guide to restoring damaged old photos. You can also learn how to remove scratches from old photos easily.
Step 5: Save and Download Your Restored Photos
Your restored photos are automatically saved in a private history, ready to download in high resolution whenever you want. This way, you’ll never lose your memories—and you can share them, print them, or create family albums.
Common Mistakes and How to Avoid Them
- Glare and reflections: If you see white spots or glare, adjust the light or use a black card on the sides.
- Blurry or shaky photos: Rest your elbows on the table and use the timer to avoid movement.
- Incorrect cropping: Make sure your scanned photo is perfectly framed before restoring.
- Low resolution: Use the highest camera quality and avoid over-cropping. If the photo looks small, AI can upscale it without losing sharpness.
How to Tell If Your Photo Is Properly Digitized
A well-digitized photo is sharp, glare-free, centered, and naturally colored (if it was black and white, you can colorize it with AI). Compare the before and after of your restoration to see the improvement.
If you want to know how to print your restored photos in different formats, check our guide to printing restored photos.
Frequently Asked Questions About Digitizing Old Photos
How do you digitize old photos with your phone?
Place the photo on a well-lit surface, open your phone’s camera or a scanning app, align carefully, and take the picture. Crop the edges and save your scan. Then, you can restore and enhance it with specialized tools.
Can you digitize old photos?
Yes, anyone can digitize old photos using a phone, tablet, or scanner. The process is simple and doesn’t require technical knowledge. AI makes it easy to enhance and restore them afterward.
How do you scan photos with a phone?
You can scan photos using your phone’s camera by holding it above the image, or use apps like Google PhotoScan that remove glare. Many phones now include document scanning in their camera apps.
Can you scan photos with a phone?
Yes, both Android and iPhones let you scan photos easily. All you need is good lighting and a bit of patience to line up the shot.